Celebrate 🍂 Fall With The 🍃 Leaf Emoji And DIY Craft Ideas You Can Do With Leaves 🍁
There’s a chill and a woodsy aroma in the air. The leaves are quickly changing color, and there are pumpkins everywhere — it must be fall! We’ve finally made it to the most beautiful season of all. We dare you to look at the colorful foliage outside your window and tell us that ain’t true!

Photo from Adobe Stock
Autumn is filled with endless cozy activities you can do with friends and family. All things considered, we know fall looks much different than it did last year — no apple picking or corn mazes this year, unless you want to spend the rest of 2020 with a virus — but that doesn’t mean fall should be canceled.
There are plenty of fun indoor activities you and your loved ones can do to welcome autumn. On that note, just to give you a little push in the right direction, we’ve rounded up some fun fall activities with leaves to help you and your family make the most of autumn and ease into the colder months.
Fall Bonding Activities
Do you like to rake leaves into huge piles and then have your kids jump in them?

Photo from Adobe Stock
If you answered yes to that, we wouldn’t be surprised that you did. Indeed, it’s one of the most popular Fall activities for families. Some families even go to large parks just to look for huge piles of leaves to jump into (PSA, based on our research, Garfield Park, and Lincoln Park, both in Chicago, are ideal for leaf-jumping).
Leaf Jumping Fun
Jumping into leaves is a great way for families to bond. However, as we all know, it’s dangerous to take one step outside your front door, so why not bring the leaves inside?
No access to leaves, don’t worry! There are plenty of things you can do with faux leaves. When it comes to Fall crafting, nothing beats crafts that use the beautiful colors of the Fall leaves!
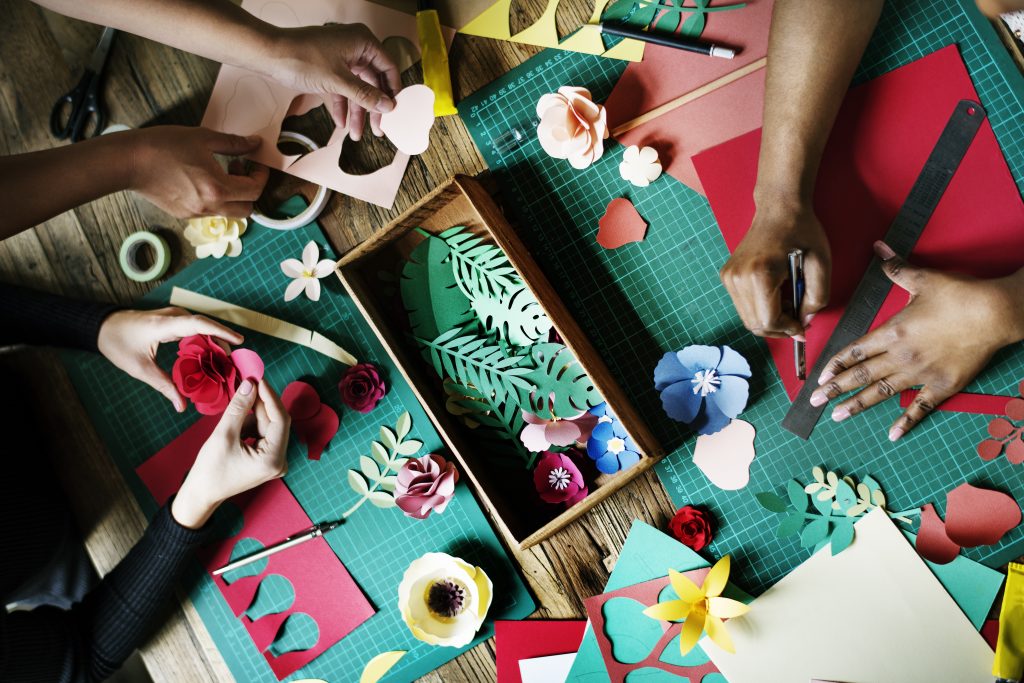
Photo from Adobe Stock
Make Your Own Leaf Emoji
If your kids like emojis, why not organize a make your own 🍃 Leaf emoji session, and when you’re done, you can use those leaf emojis in your other leaf craft projects! Using colorful leaves in your DIY creations is the easiest and most festive way to celebrate autumn, and what’s more, they’re affordable to do, too.
Different Kinds Of Leaf Emoji
Do you know that there are many kinds of 🍃 Leaf emoji to choose from? Mix and match the different variants to add a splash of color to your crafts.
Fallen Leaf Emoji

First on our Leaf emoji list is the 🍂 Fall Leaf or 🍂 Fallen Leaf emoji. It is an illustration of two golden-brown, almond-shaped leaves of different sizes. The leaves of the stems are facing downwards to make them look like they’ve fallen down. You’ll spot this emoji in topics related to fall, autumn, nature, or trees. You’ll notice Apple and Facebook 🍂 Fallen Leaf emojis feature three leaves, while other vendors have only two leaves.
Maple Leaf Emoji

The second emoji in our 🍃 Leaf emoji compilation is the 🍁 Maple Leaf emoji. It is a picture of a leaf fallen from the maple tree. It has five pointed segments, and is reddish-orange in color. The 🍁 Maple Leaf is known for its unique shape, making it impossible to confuse it with any other leaf. The 🍁 Maple Leaf emoji represents trees and Autumn or Fall. Wondering where else you’ve seen it? It is a famous Canadian emblem and is featured on the flag of Canada.
On the various platforms, Twitter’s 🍁 Maple Leaf emoji is pinkish in color, while Microsoft’s 🍁 Maple Leaf emoji is outlined in black. It was previously yellow, currently it’s orange with a red stem.
Leaf Fluttering In The Wind Emoji

The 🍃 Leaf or 🍃 Leaf Fluttering In The Wind emoji is a picture of one or two green, almond-shaped leaves fluttering in the wind. The leaves are green, with blue or gray motion lines on it, to make it look like they’re swirling in the air or blowing through the trees. You’ll usually see the symbol in topics about Fall, Autumn, trees, and nature.
Four Leaf Clover Emoji

The 🍀 Four Leaf Clover emoji is a bright green sprig of clover with four leaves, where all its leaves are heart-shaped. It is the worldwide symbol of good luck – a universally accepted symbol of good luck, to wish someone luck, to hope that someone will have luck. The leaves on Twitter’s 🍀 Four Leaf Clover emoji are not separated by lines, while Microsoft’s 🍀 Four Leaf Clover emoji is outlined in black.
Herb Emoji

The 🌿 Herb emoji is a picture of a green plant with flowers, seeds, or leaves, used for medicine, perfume, flavoring, or food. You’ll most likely see the 🌿 Herb emoji in content related to herbal medicine, cooking, and plant life. Some people use it as slang for marijuana, a gray, brown, or gray mixture of shredded, dried leaves, stems, seeds and flowers of the hemp plant Cannabis sativa. Twitter’s 🌿 Herb emoji is the only emoji with a more pinkish stem.
Fall Leaf Crafts
After going through all the leaf emojis, why don’t we get down to business? There are a number of wonderful crafts you can do to help bring those gorgeous autumn colors indoors. Moreover, they’re very easy to make and kid-friendly. In fact, most of the materials you’ll need are probably just lying around your house.
Fall Leaf Suncatcher
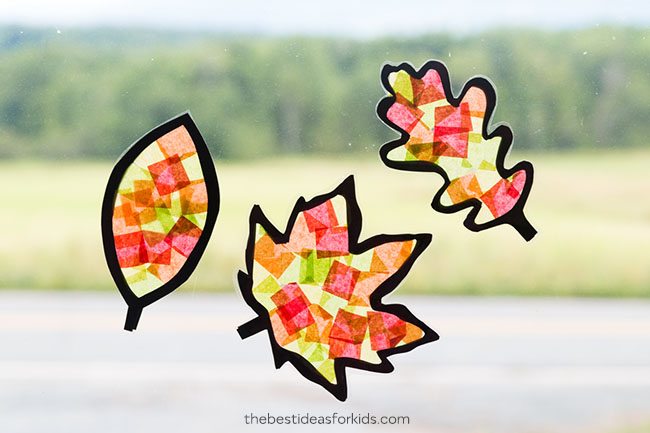
Photo from The Best Ideas For Kids
Decorate your windows with some beautiful suncatchers. For the leaf designs, you can use the leaf emojis on Emojiguide as pegs. Since this particular craft was specially designed to be done by kids. there’s nothing too dangerous involved. So, if you’re feeling confident enough, you can let your little ones take the lead in this activity.
Materials
- Tissue paper
- Clear
- Clear contact paper
- Scissors
- Glue stick
Instructions
- Print the fall leaf templates on white card stock. After you’ve printed them, cut them out. To get thicker lines, trace the templates onto black construction paper and then cut these out.
- For design purposes, each suncatcher needs to have two identical leaf outlines. Once you’ve got your outlines, place one leaf outline onto the sticky side of a piece of self-adhesive laminating paper or on the sticky side of a piece of contact paper.
- Get a piece of tissue paper and cut it up into small squares. Then, layer the squares onto the laminating or contact paper. Don’t worry if the tissue paper goes outside the lines, you can trim it off later.
- Glue the second leaf outline on top of the tissue paper with a glue stick.
- Next, put another piece of laminating paper or clear contact paper on top to smooth out any bubbles. Cut any excess laminating paper or contact paper with scissors.
- Get some double-sided tape, and stick your new catchers onto a window with the tape. That’s it! Don’t forget to take a moment to enjoy the beautiful fall colors as the sun shines through the tissue paper!
Fall Wreaths
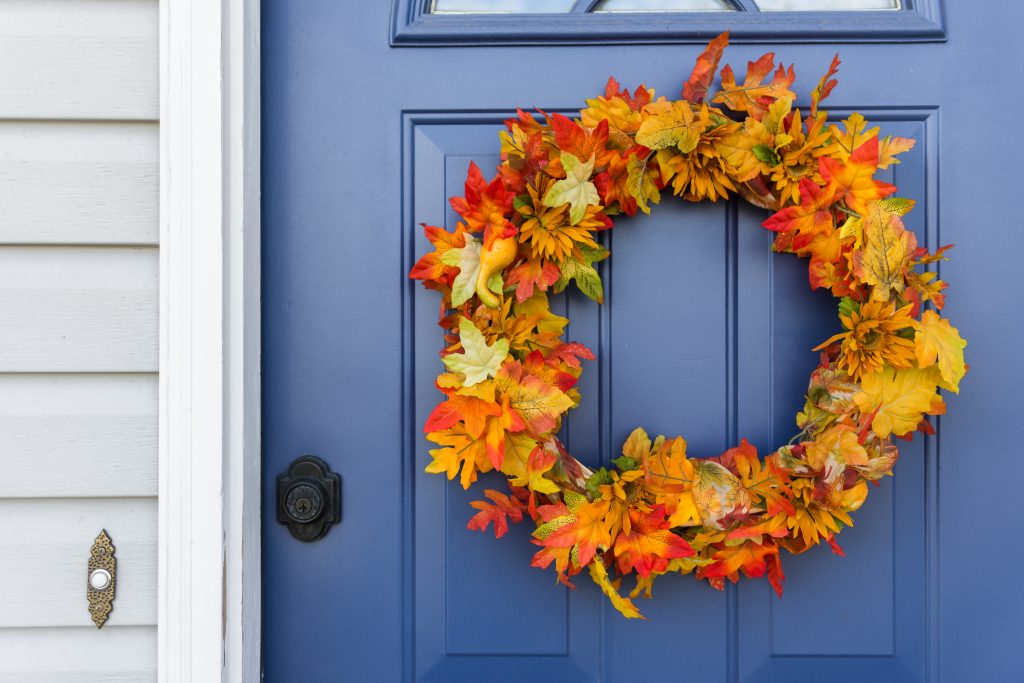
Closeup of front door and decorative autumn wreath
Spruce up your home and add autumn colors to your decor with do-it-yourself fall wreaths! This is so easy to do that you can even do it with your kids. They’ll surely have a great time too. Turn it into a fun bonding activity for the entire family!
Materials
- Paper plate
- Glue stick or glue dots
- Plastic leaves
- Ribbon
Instructions
- Create three to four leaf-shaped templates of different types of leaves. You can use the various types of leaf emoji on Emojiguide as a peg.
- Using a knife, cut a hole in the middle of a paper plate to create a wreath.
- With a glue stick, put glue on the paper plate. Stick and press down the leaves on top, making sure they overlap. Use glue dots if that’s easier for you, then put a little glitter on the leaves for a shinier, more festive look.
- Get a piece of ribbon and loop it around the paper plate wreath to hang for fall. Lastly, put a few feathers or twigs on the wreath if you want.
Mason Jar Leaf Lanterns
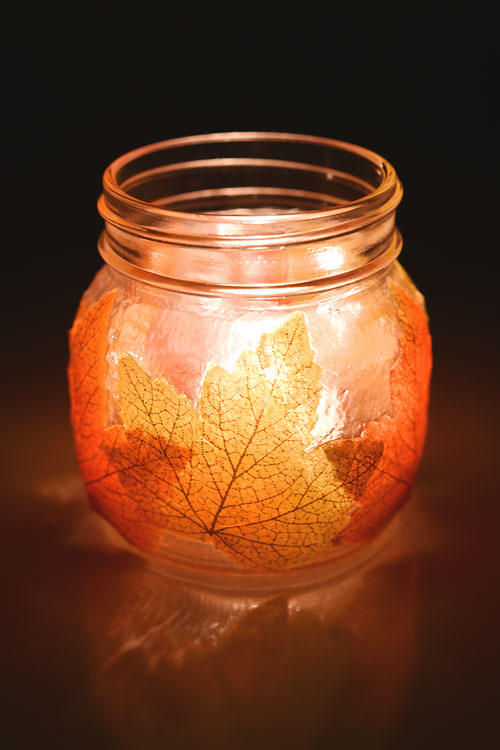
Photo from One Little Project
Celebrate fall with these lovely mason jar leaf lanterns. There is a lot you can do with them. They make a great homemade gift and also work as a table centerpiece or fireplace mantel decoration.
Materials
- 8 oz mason jar
- Sponge brush
- Fabric autumn leaves
- Mod Podge water base, sealer, glue and finish
Instructions
- Flatten your leaves, then remove the plastic ribbing off from each of the leaves with your fingers.
- Wash the mason jar with water and dish soap to remove grease and surface dirt.
- Wipe the outer portion of your jar with rubbing alcohol. Don’t touch the places on the glass where the leaves are going to go.
- Get your small sponge brush and add a thin layer of Mod Podge outside your jar. The amount you put should be bigger than your leaf.
- Once the glue begins to dry, carefully press a leaf onto the glue.
- After the first leaf is sticking nicely (all the edges are flat, and everything is nice and smooth), add another layer of Mod Podge to where the next leaf is going to go.
- Use the sponge brush to press down and smooth out the edges that won’t stick.
- When you’ve finished adding all the leaves, dry them for 15 to 20 minutes in front of the fan.
- Get your sponge brush. Then, put a big amount of Mod Podge around the whole jar, and let the jar dry.
- Let it dry overnight. In the morning, check if there are any white glue spots. There shouldn’t be any.
- Take your new lantern for a spin! Put a battery-operated tea light or a regular tea light inside the lantern. If you’re going to use a real, flaming candle, make sure there’s no Mod Podge inside the jar. Mod Podge melts at hot temperatures, you don’t want to cause a fire.
Fun And Festive Fall Leaf Bowl
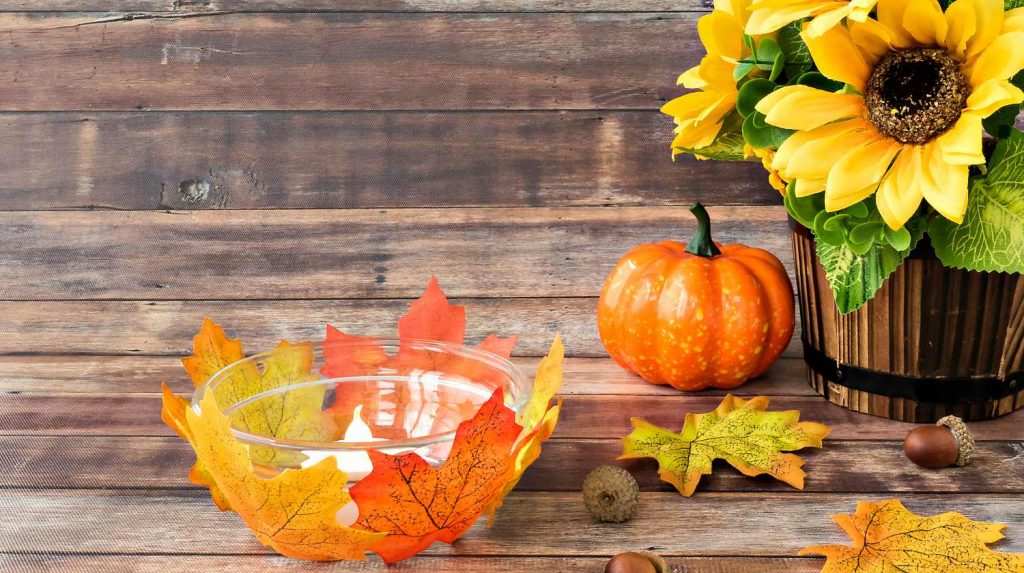
Photo from DIY Projects
Add this DIY leaf bowl to your craft to-do list. A decor piece perfect for the fall holidays, this festive, decorative leaf bowl is chic and easy to do.
Materials
- Balloon
- Medium bowl
- Artificial leaves, mixed fall colors
- Mod Podge
- Paintbrush or sponge
Instructions
- Inflate the balloon then tie it to close.
- Put the balloon in a bowl. Position it in such a way that the part that is tied is facing down.
- Get your artificial leaves and glue leaves on the balloon, then use your paintbrush to cover a spot on the balloon with Mod Podge and press a fabric leaf on that spot.
- Next, cover the leaf with Mod Podge.
- Do the same thing with the other leaves until your leaves form a bowl shape.
- Put a thick coat of Mod Podge. Don’t worry if your bowl gets too wet and looks too white, that means you are doing the right thing!
- When the leaf bowl reaches your desired size, the next step is to put it in a corner and leave it to dry overnight.
- Once it is completely dry, pop the balloon and gently and carefully peel it out of the bowl. Finally, that is the last step. That’s it! You’re done!
There are many things you can do with your bowl, you can put candies in it for trick-or-treating, or you can use it as a table centerpiece.
Fall Mobile
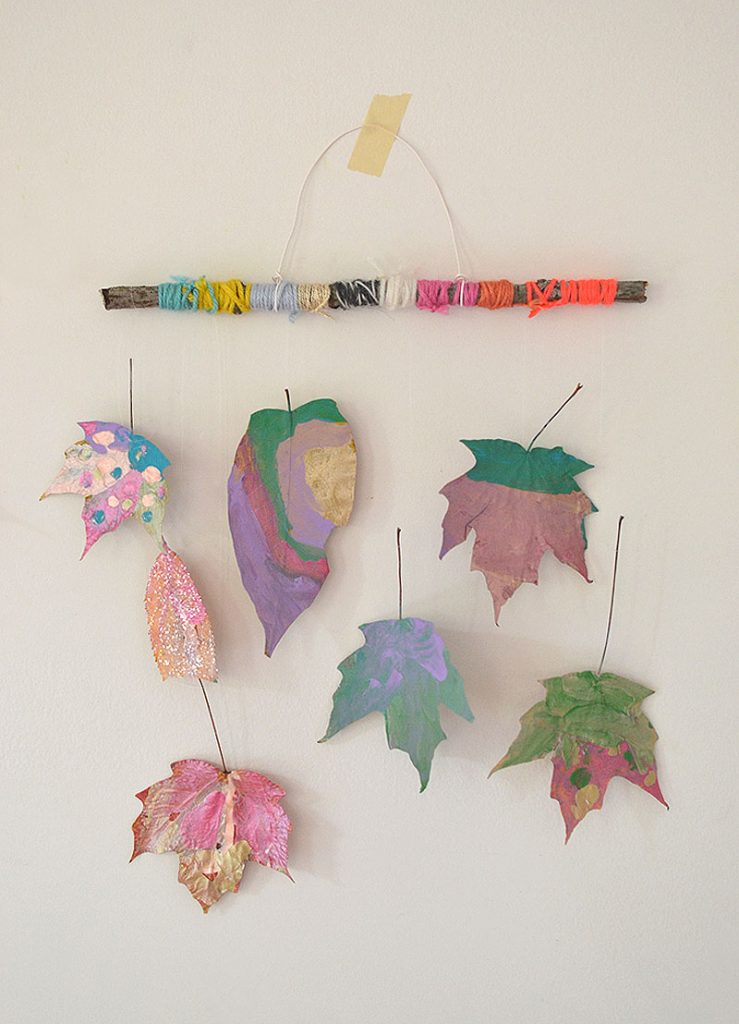
Photo from Art Bar
Decorate your bedroom with a beautiful autumn leaf mobile, a stunning home decor craft to welcome the Fall season!
Materials
- Dried leaves
- Tempera paint
- Metallic tempera paints
- Small brushes
- Water
- A small sponge
- A container of glitter
- Wooden branches
- Yarn cut into 15-inch pieces
- Scissors
- Fishing wire
Instructions
- Design the leaves with the tempera paint. You can put glitter on them for a more glossy effect. Then, let them dry overnight.
- Wrap the wooden branches or twigs with yarn. Don’t forget to double knot any loose ends.
- Use fishing wire to tie the leaves to the twigs. If you don’t have a fishing wire, you can also use yarn.
- With a bit of craft wire, make a hanger.
Fall Leaf Frame
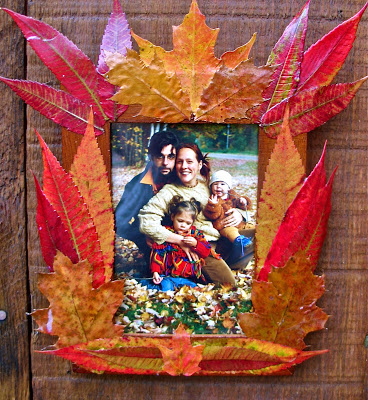
Photo from Twig And Toadstool
Capture the beauty of fall leaves all year round, display your most precious photos in this cute, do-it-yourself autumn-inspired picture frame.
Materials
- Wooden frame
- Faux leaves in autumn colors. You can use the various types of leaf emoji on Emojiguide as a peg.
- Orange, red, green, yellow and brown paint
- Paintbrushes
- Mod Podge
- Glitter
- A treasured photo
Instructions
- Decide where you want to put the leaves in the frame.
- Put Mod Podge on each leaf, front and back. Begin from the bottom, then work your way to the top.
- Add a bit of glitter, and wait for it to dry.
- Once you’re done, shake the frame to get rid of the excess glitter.
Conclusion
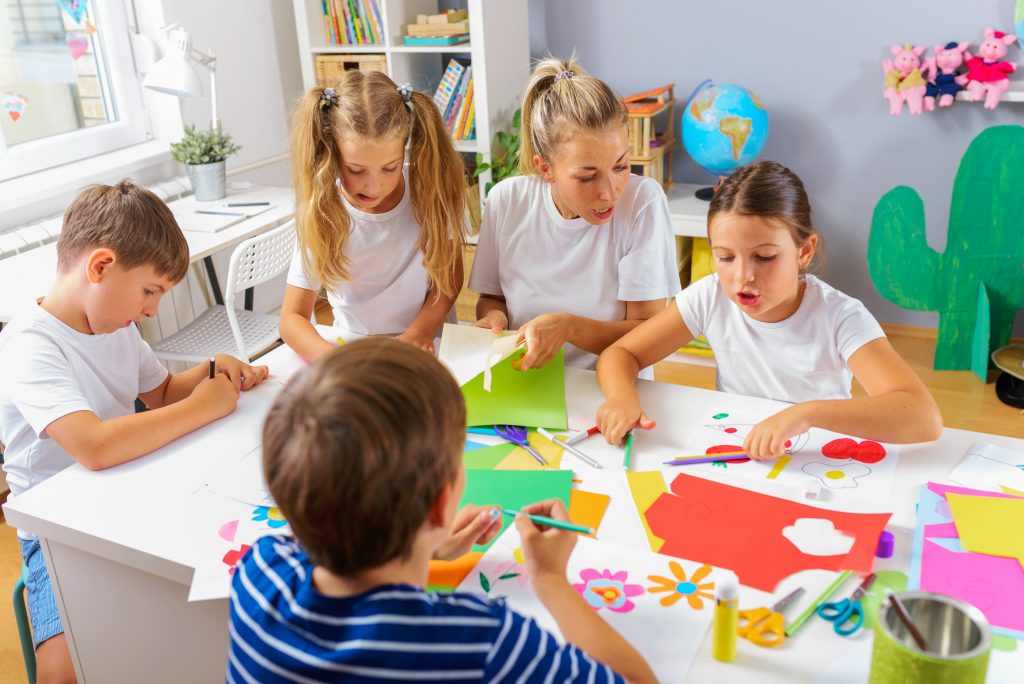
Photo from Adobe Stock
This fall, we hope we inspired you to get creative as a family from the confines of home with arts, crafts, and DIY fun for everyone. Craft activities provide a great way for parents to bond with their kids.
Family Bonding With Arts And Crafts
If your kids don’t really like arts and crafts, inserting things that they’re interested in, like a favorite color or emoji, in your bonding session might encourage them to get involved. Whatever you and your kids, or you and your parents decide to do, it doesn’t have to be perfect. In the final analysis, the most important thing in all this is the amazing memories you’ll make as a family.

